Building the sword core
- Trim oak slats so that both are 1-1/4" wide.
- Cut 8"-9" from one end of the aluminum bar, but leave the
oak pieces 48" long
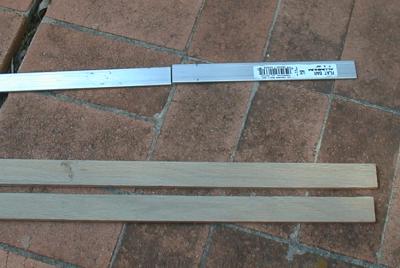
- Mark one end of each slat with a 1-1/4" semi-circle. This gives us the
rounded tip.
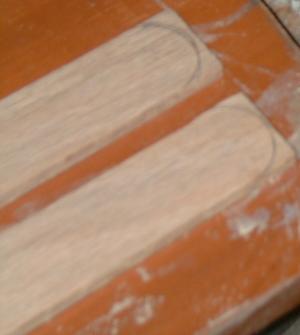
- Trim the wood on each slat to round off the point end.
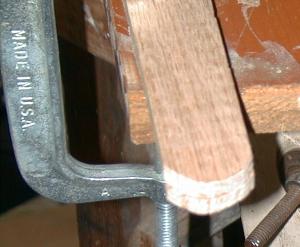
- Use sandpaper to make the tips of both slats roughly the same.
- Mark a line on both slats to show the length of the grip. Mine uses a grip of 11-5/8" from the pommel end. (This length has been criticized as being too long for historical accuracy. Later versions may have a shorter grip.)
- Spread contact cement on the inside of one slat from the pommel end
to the line marked above.
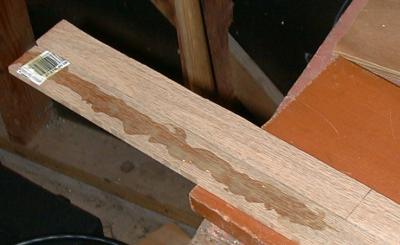
- Place the aluminum bar on this slat so that the pommel end of the bar
matches the wood and the bar is centered on the slat.
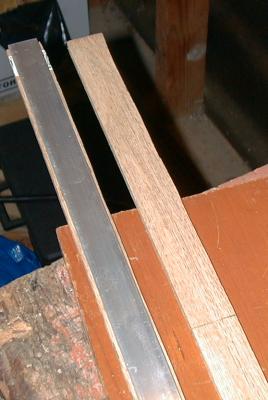
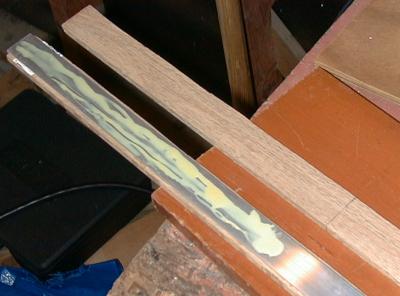
- Spread contact cement on the aluminum bar from the pommel end to the
line marked above.
- Place the second oak slat on the aluminum bar so that the pommel end
lines up with the bar and wood. Also make certain the two wooden
slats match up lengthwise.
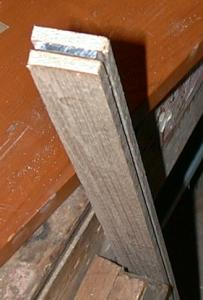
- Clamp the grip and allow to dry for a few hours.
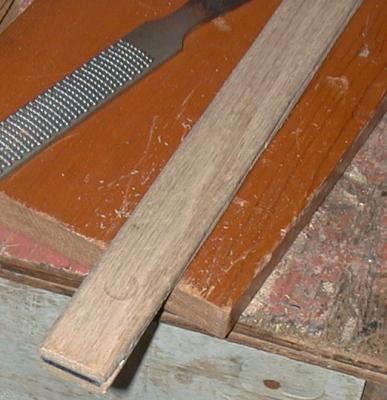
- Shape the grip with a wood rasp/file to give an oval or rounded
cross-section. This oval shape should run from the grip line
marked above all the way to the pommel end.
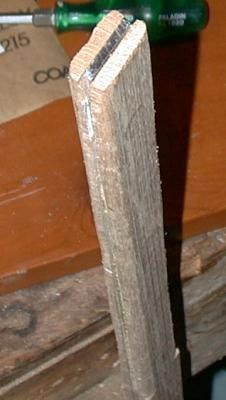
- At the widest portion of the tip, make two marks 1/2" from the center-line. This marks how much we will taper the blade.
- Starting 16"-17" from the tip, draw a line from the very edge of the slat
to the mark above on both sides.
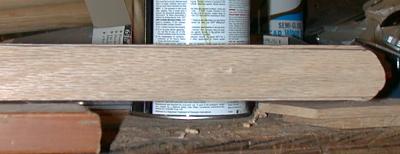
- Use a block plane to shave the slats and make the blade taper. All of the wood outside the mark above should be removed.
- Use either the plane or a wood file to remove the square edges from the blade.
- Place a strip of masking tape around the entire blade near the tip. This piece should be close enough to the tip to pull the slats together in front of the aluminum bar.
- Place two more strips of masking tape around the blade to hold the blade together.
